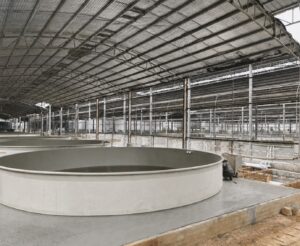
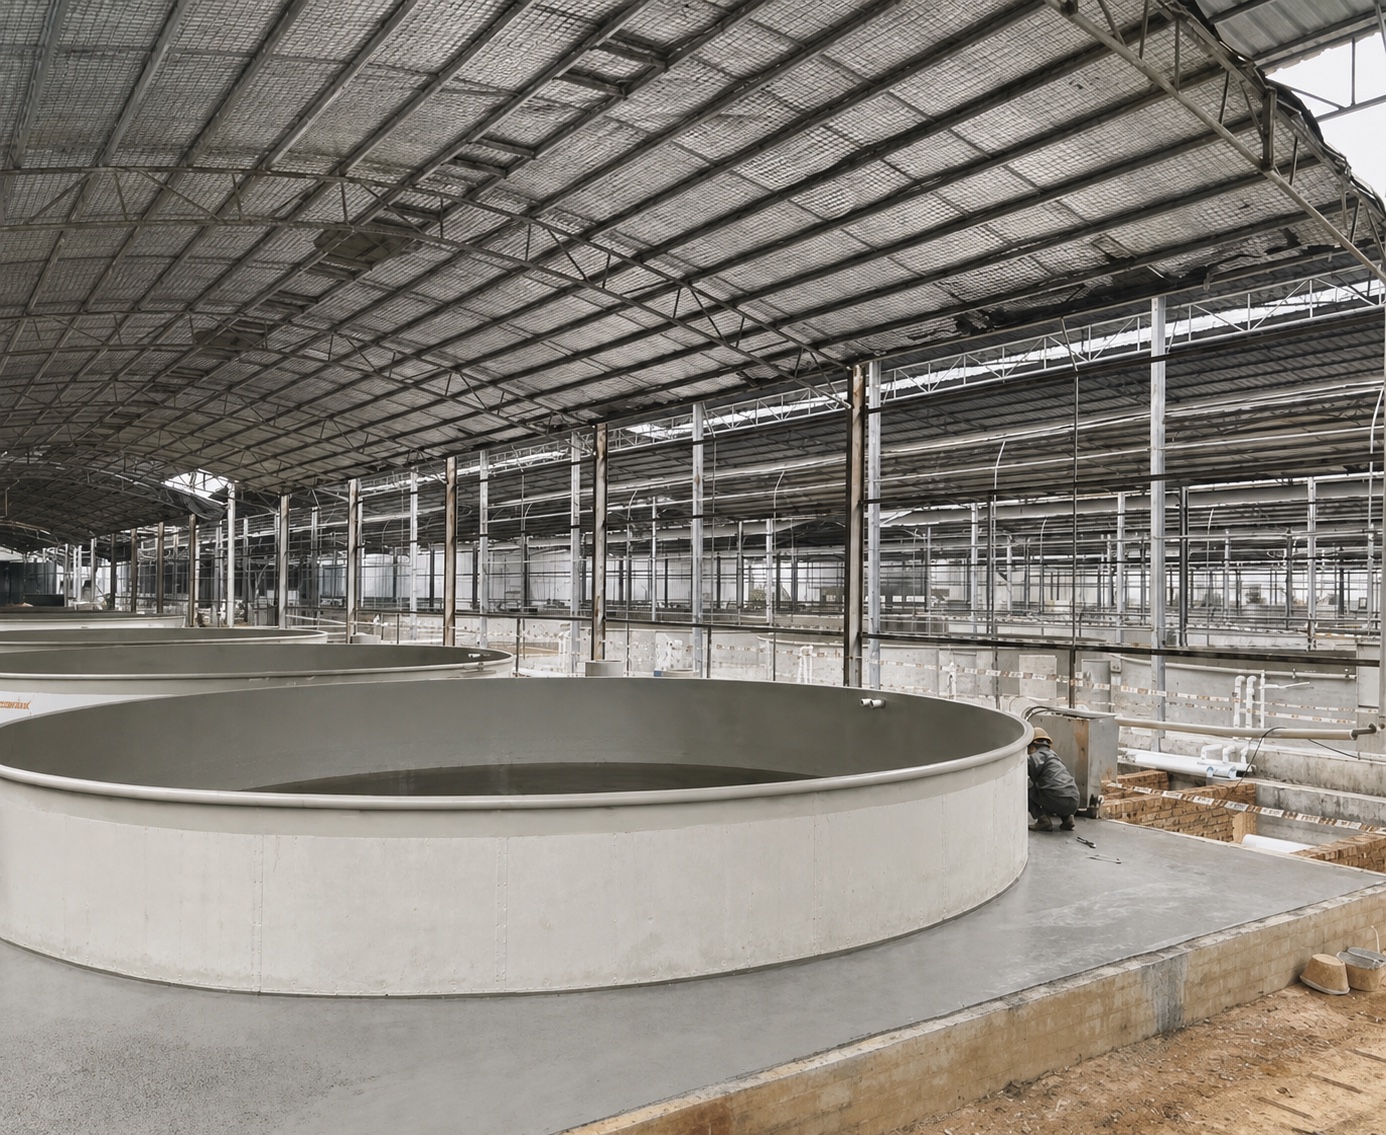
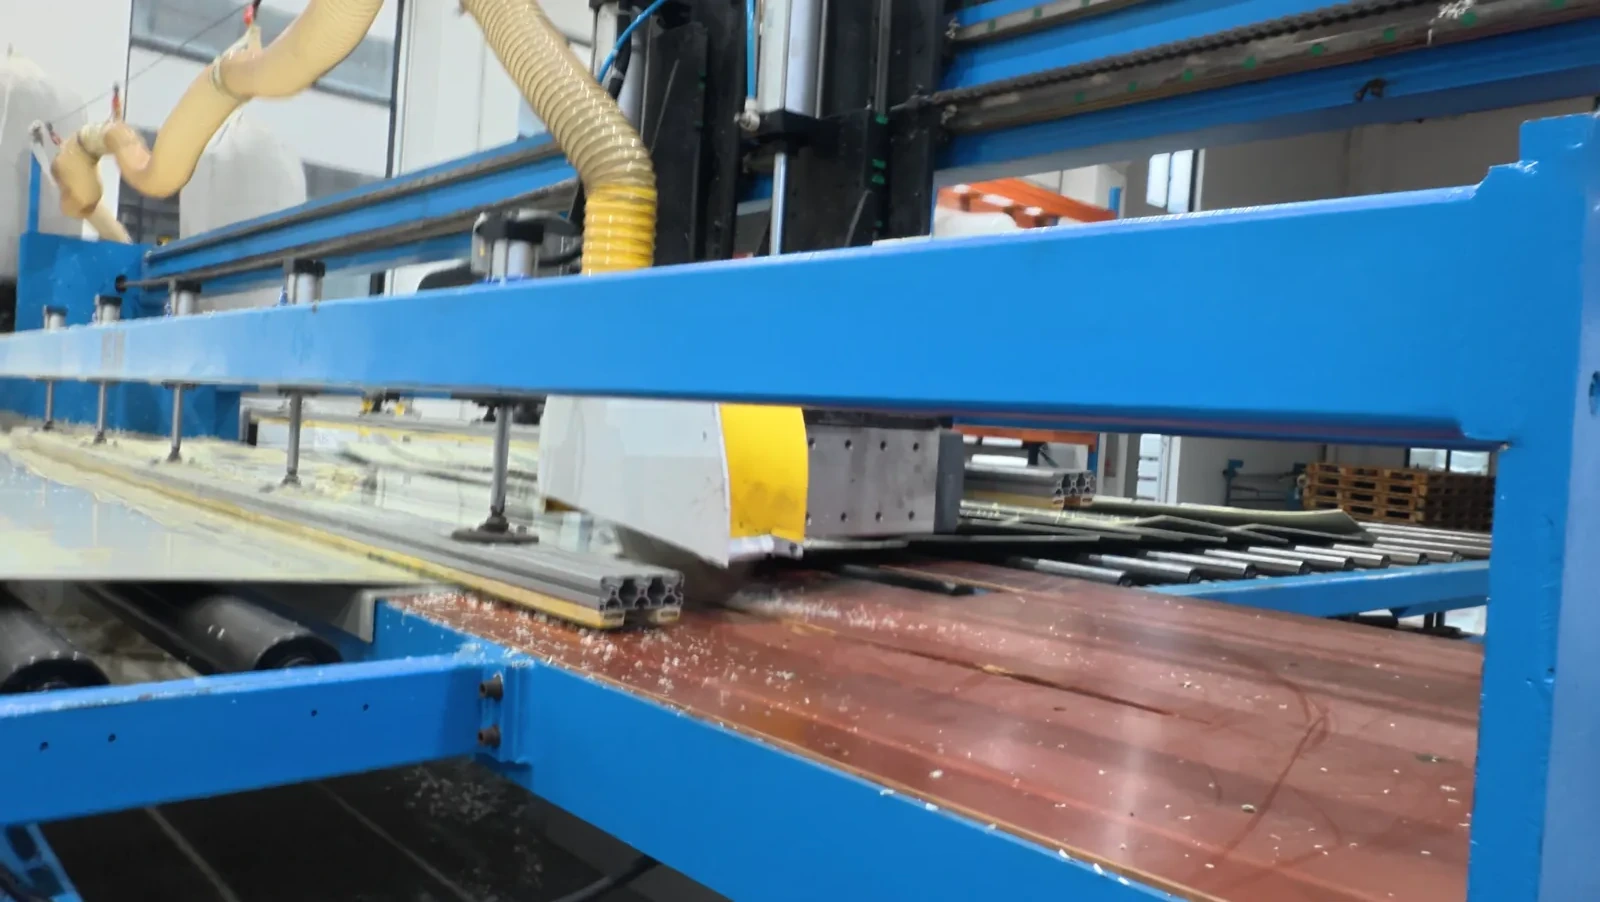
PP sheet welding fixtures for large panels should keep the joint aligned, support the sheet without creating point loads, and allow the weld to heat, join, and cool without being forced into a new shape. Plan the fixture from the panel geometry, welding method, joint gap, restraint direction, access for the tool, and inspection requirement—not from clamp quantity alone. The aim of every PP sheet welding-fixture plan is controlled alignment with enough freedom for thermal movement.
Define what PP sheet welding fixtures must control
A large PP panel can move in several ways during fabrication: it can sag between supports, slide under tool pressure, lift at a corner, rotate around a tack weld, or bow as the heated zone cools. A good fixture does not simply hold the part “tight.” It controls the specific failure mode that would affect the drawing or weld.
For procurement, describe PP sheet welding fixtures as a controlled process aid: state the datum, support pattern, clamp-pad condition, release sequence, and inspection points so the fabricator can reproduce the setup on every large panel.
Start with the panel length and width, thickness, cut-outs, joint type, weld access, support span, and the final equipment geometry. Identify which edges are datum edges, which surfaces must remain visible, where a clamp may touch, and which areas must stay open for a hot-gas or extrusion-welding tool. The IAPD sheet butt-welding article describes setting bars, clamping fixtures, machine-table alignment, and the effect of fixture design on sheet butt-welding equipment; those same questions should be answered in a custom panel plan.
Match fixture design to the welding process
| Welding route | Fixture priority | Evidence to record |
|---|---|---|
| Heated-element butt welding | Parallel datums, table alignment, controlled travel, uniform clamping, and rapid tool changeover | Panel squareness, root gap or alignment, machine settings, heating and joining record, and cooled joint inspection. |
| Hot-gas or extrusion welding | Joint gap, bevel access, backing support, tack sequence, and tool clearance | Joint preparation, rod identity, temperature or procedure record, weld sequence, and visual inspection. |
| Corner or box assembly | 90-degree reference, diagonal control, corner support, and access to both faces where required | Diagonal measurements, corner angle, temporary brace removal, and final dimensional check. |
| Tank or duct module assembly | Datum transfer between panels, flange/nozzle position, support frame clearance, and movement allowance | Drawing revision, fixture setup, as-built dimensions, penetration alignment, leak or functional test where applicable. |
The fixture must follow the welding procedure rather than replace it. Röchling’s PP processing and welding guide emphasizes compatible welding rod, clean joint surfaces, and process-specific welding conditions. Use supplier and project data for the selected PP grade; do not copy a temperature, pressure, or clamp force from another material or thickness.
Support the panel without creating new stress
Use distributed support and protected contact surfaces
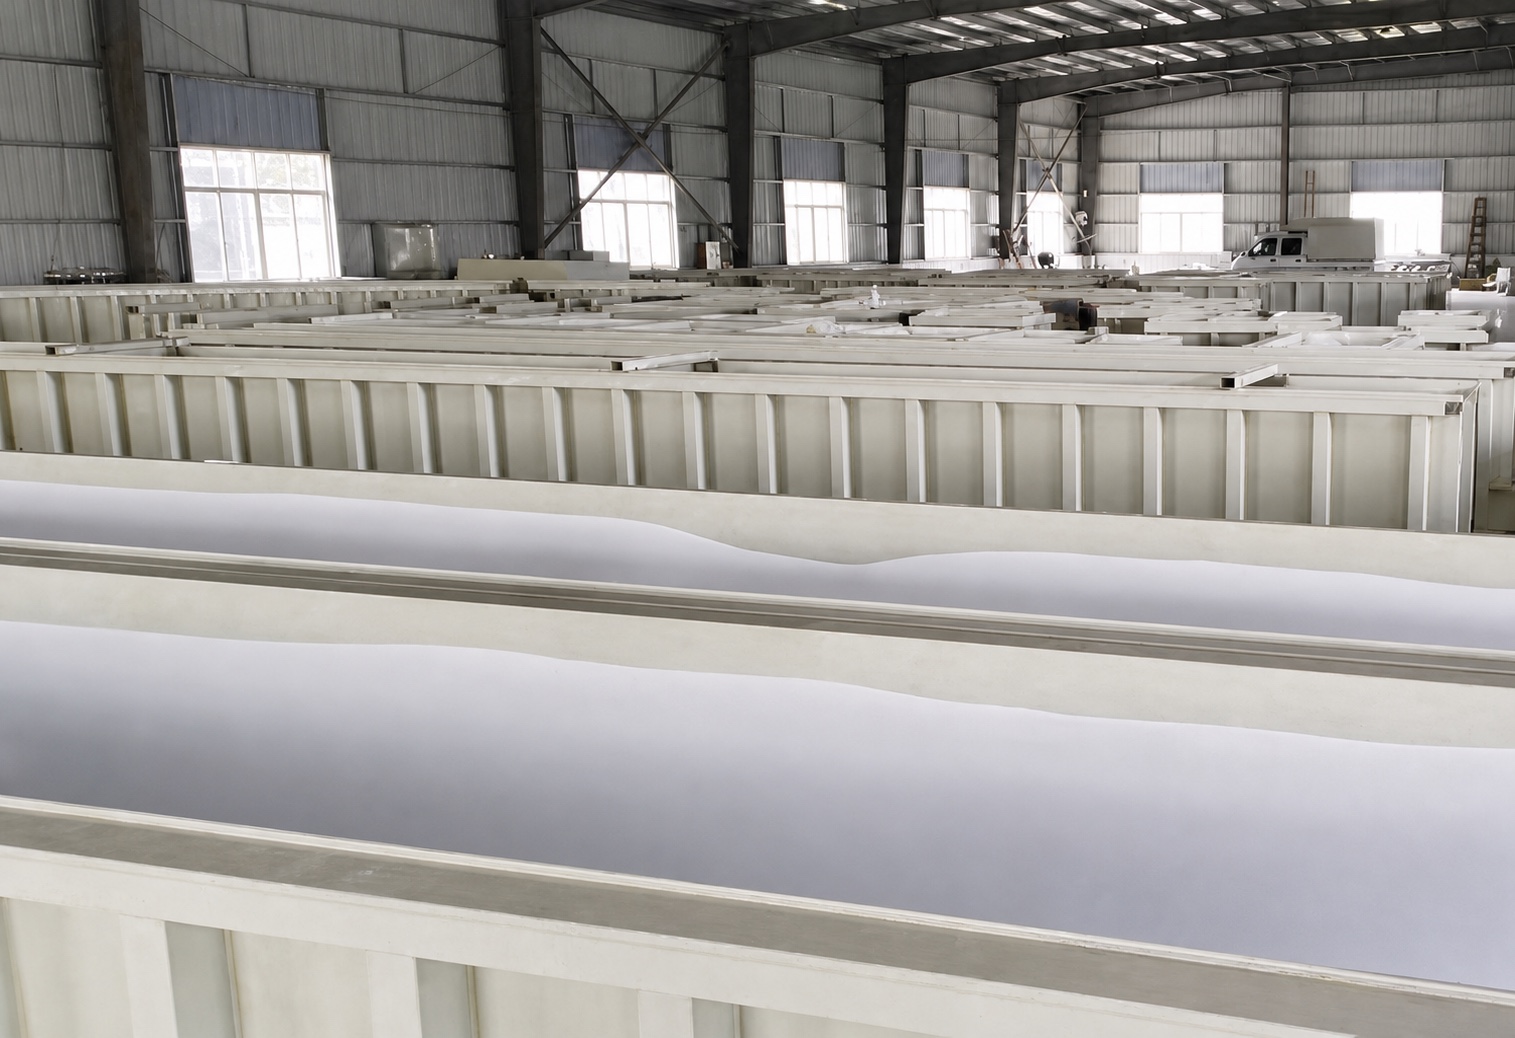
Support a large panel on a flat, clean reference surface or a designed frame. Spread contact over a broad area instead of relying on isolated points. Use soft, clean pads where a clamp touches the finished surface, and keep metal edges, chips, oil, and hard debris away from the sheet. The internal PP use standard requires flat support, gentle handling, and protection of edges and corners; those controls are especially important when the panel will later become a visible cabinet, tank, duct, or wet-bench surface.
Separate locating, clamping, and bracing functions
A locating stop establishes position. A clamp prevents sliding or lifting. A brace controls a larger shape or diagonal. Combining all three functions in one rigid block can over-constrain the panel and transfer thermal strain into the joint. Give the fixture a clear datum scheme: one primary reference, one secondary reference, and controlled freedom in the direction where the sheet is expected to expand or contract.
Do not use a clamp to force a visibly warped or damaged sheet flat and then weld over the defect. The manual’s “inspect first, process second” rule means that flatness, cracks, deep scratches, broken edges, thickness, and protective-film condition are checked before the fixture is designed around the part. Isolate or replace a sheet that cannot meet the project condition; do not make the fixture carry a material-quality problem.
Control clamp force, joint gap, and tool access
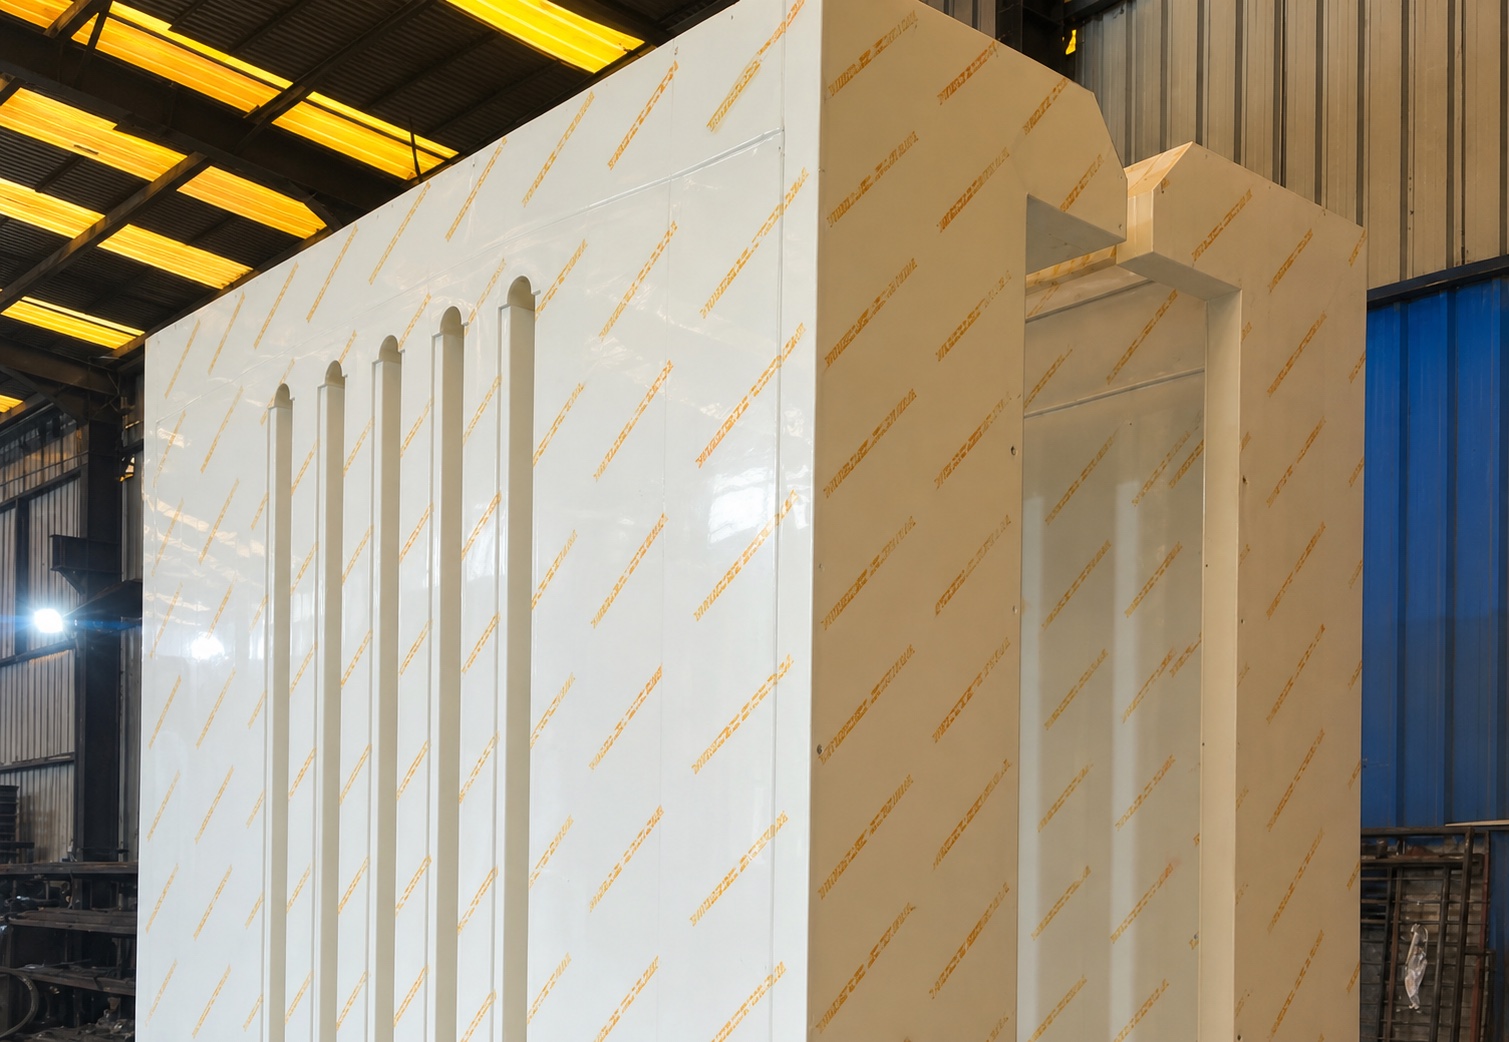
There is no universal clamp force for every PP sheet. The correct force depends on thickness, contact area, clamp pad, panel stiffness, joint design, and the welding process. Excess force can mark the surface, crush a soft edge, close a required root gap, or restrain the panel so strongly that cooling creates residual stress. Insufficient force allows sliding, lifting, or misalignment.
Specify how the operator will verify the joint before heating: feeler gauge, calibrated gap block, straightedge, diagonal check, or another project-approved method. Record where the measurement is taken and whether the dimension is before tack welding, after tack welding, or after the main weld has cooled. Keep clamps clear of the bevel, extrusion-weld shoe, hot-gas nozzle, backing strip, and visual-inspection line.
For a large panel, a flexible clamp or adjustable hold-down may be safer than a rigid full-length bar. TWI’s distortion-prevention guidance explains that restraint can help maintain a joint but can also introduce stress; fixture design should therefore balance movement control with the material’s ability to relax during cooling.
Plan the welding sequence before locking the fixture
Fixture drawings should show the welding sequence, not only the final clamp locations. A balanced sequence can reduce the tendency for one long seam to pull a panel out of square. For a tank or duct module, mark the order for tack welds, long seams, corners, reinforcements, nozzles, and flange details. Define when a clamp is released, when a brace is moved, and when the cooled geometry is checked.
- Prepare: confirm grade, thickness, edge condition, surface cleanliness, joint preparation, rod identity, and fixture cleanliness.
- Locate: set the panel against the approved primary and secondary datums; check diagonals, openings, and support contact.
- Clamp lightly: prevent sliding and lifting while keeping the joint gap, tool access, and intended movement direction.
- Tack and verify: use the approved tack sequence, then recheck alignment before the continuous weld.
- Weld and cool: follow the qualified procedure, avoid forced bending, and allow natural cooling unless the project procedure states otherwise.
- Release and inspect: remove restraints in the documented order, measure cooled geometry, and record any deviation before further assembly.
Write fixture and clamping requirements into the RFQ
A fabrication RFQ should make the fixture an inspectable part of the process rather than an undocumented shop preference. Include:
- Panel drawings, thickness, grade, datum edges, visible faces, cut-outs, and joint geometry.
- Welding method, rod or base-material match, procedure qualification, temperature-control method, and required operator qualification.
- Fixture material and contact-surface requirements, support spacing, clamp locations, adjustable stops, bracing, and tool-clearance zones.
- Joint-gap and alignment tolerances, measurement tools, diagonal checks, and reference temperature.
- Welding and clamp-release sequence, cooling condition, post-release inspection, and hold points before reinforcement or installation.
- Evidence package: fixture setup photo or drawing, weld record, dimensional report, repair or nonconformance record, and leak or functional test when required by the equipment.
For related controls, use the PP sheet flatness and warpage guide, el Hoja de datos y guía de fabricación de láminas de PP, y el PP sheet weld test coupon guide. The links cover incoming condition, material evidence, and pre-production weld validation; this article adds the fixture and restraint decision between those stages.
When a fixture needs to correct repeated distortion, stop and review the root cause. The problem may be panel flatness, joint preparation, welding heat input, sequence, support spacing, or an incompatible restraint detail. QEEHUA can review the proposed PP sheet and fabricated detail when the drawing revision, grade, thickness, welding method, fixture concept, service conditions, and acceptance evidence are supplied.
Related QEEHUA process video: this sheet-process reference is useful for discussing material consistency before fabrication. It does not establish a fixture design, welding qualification, clamp force, or panel acceptance limit.
Video reference: PP Sheet Calendering: Thickness and Surface Control | QEEHUA. It provides general sheet-process context only; fixture setup and welding acceptance must follow the project procedure and approved fabrication records.
Preguntas frecuentes
What should PP sheet welding fixtures control on large panels?
They should control datum position, joint alignment, gap, panel sag, sliding, lifting, diagonal or corner geometry, tool access, and the direction of thermal movement without creating damaging point loads or excessive restraint.
Can I use rigid clamps to force a PP panel flat?
Not automatically. Rigid clamps may hide a material defect, close the joint gap, mark the surface, or create residual stress during cooling. Inspect the sheet first and use distributed, adjustable support that matches the approved welding procedure.
How much clamp force is required for PP sheet welding?
There is no universal value. Confirm the force or hold-down method from the selected grade, thickness, clamp-pad area, joint design, welding process, and qualified procedure. Record the method rather than copying a force from another panel.
When should a large-panel fixture be trialed before production?
Run a representative trial when the panel is large, the weld is acceptance-critical, the joint is a new geometry, the support or clamp arrangement is new, or previous work showed distortion, gap drift, surface marking, or difficult tool access.
Send the panel drawing, grade and thickness, weld method, joint preparation, fixture concept, support spacing, service conditions, and acceptance requirements. Contact QEEHUA para una revisión específica del proyecto.